The ISO feature offers customers the ability to upload ISO files directly from URLs, enabling the installation of custom images on their instances. This feature supports a variety of operating systems, specialized software, and configurations, making it easy to create unique, tailored environments. With the ISO service, users gain more control over their instance setup, opening up new possibilities for deployment. In this article, we’ll explore the functionality of this feature and how it can enhance your customization options.
Uploading an ISO
To upload a new ISO in your Antyxsoft Cloud Account follow these steps:
- Once you login into your account from the side panel click on the ISOs menu.

- Once you click on Create ISO you will be presented with the this screen:
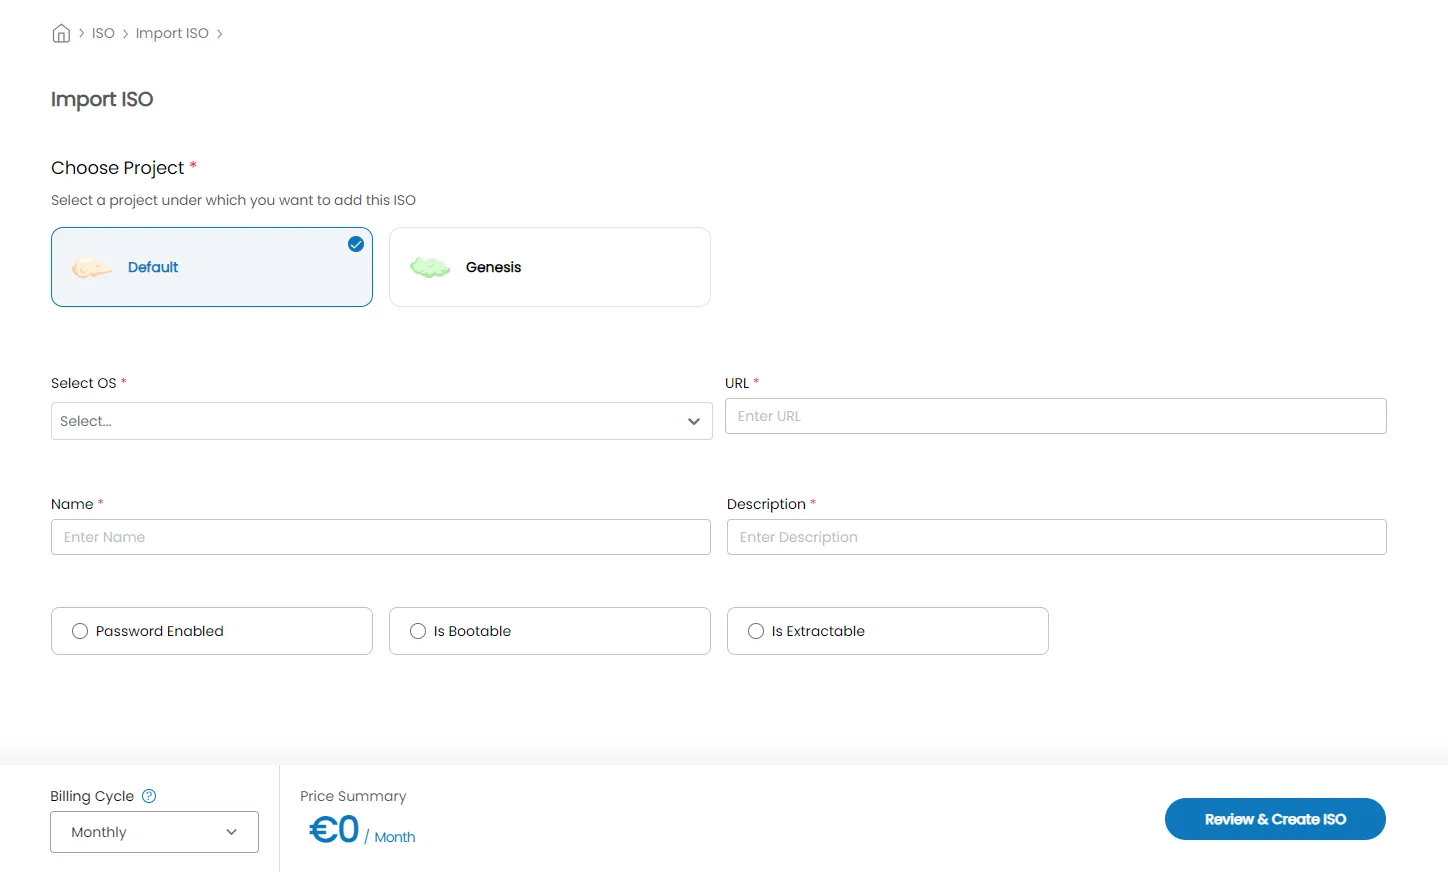
- First chose the Project you want for the ISO to be saved at.
- Then you'll have to select the datacenter location where the ISO will be uploaded.
- And now you will have to enter the details of your uploaded ISO.
At the Select OS section select the base OS of the uploaded image. In URL enter the URL from which the image will be downloaded. For Name enter a fitting name for your uploaded ISO. In the Description field enter a small descripion of the image.
Once you fill in all the details you can click on Review and Create.
Using ISOs
When the ISO is fully downloaded you will be able to find it during the instance creation at the ISO tab
