In order to restore or migrate a Virtual Machine to Antyxsoft Cloud, you need to proceed with the following steps:
Create the VM you want and make sure it matches the specifications of the original machine you want to restore. You can follow this guide to create your Virtual Machine.
- Copy the the Veeam Linux Recovery Media Version X link from our repository.
- From the portal navigate to the ISO upload menu located at ISOs > Create ISO.
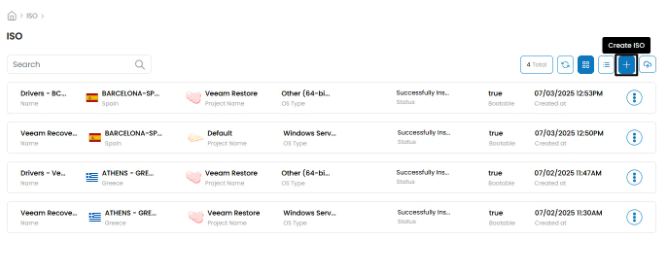
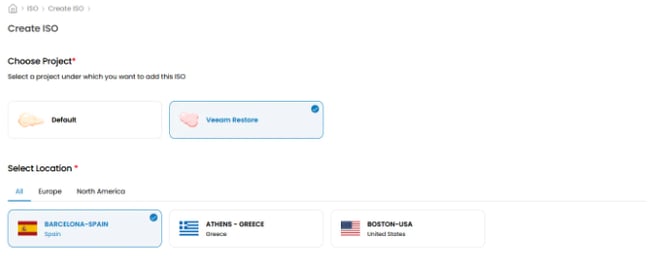
- From here you will have to specify the Project and the Location of the restore VMs that were created.
- Next set the following parameters in the ISO import menu. (make sure to enable the options Is Bootable and Is Extractable)
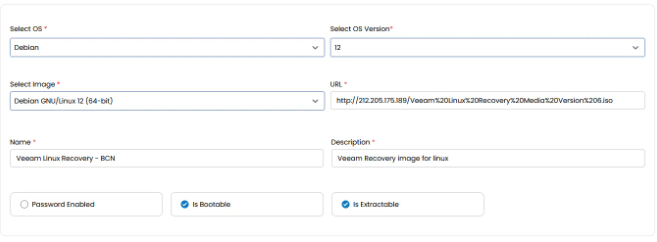
- Finally click on Review & Create ISO.
Once your Virtual Machine is ready, insert the appropriate Veeam Recovery ISO.
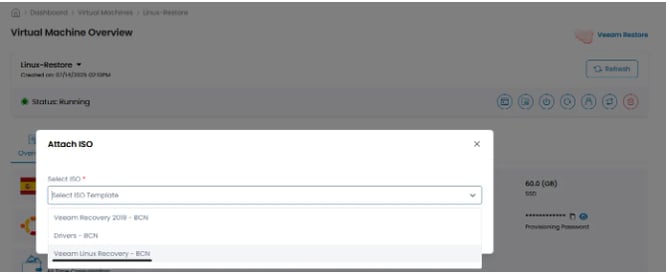
- Click on the Attach ISO To This Virtual Machine button located at intance management menu.

- Select the ISO that was imported and click on Submit.
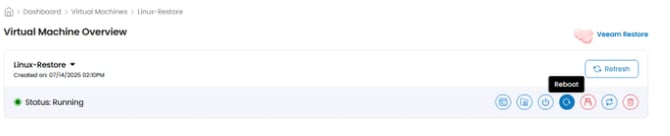
- After the ISO is attached succesfully you have to reboot the instance by clicking on the Reboot button.
- Right after open the console of the instance and you will be presented with this screen.
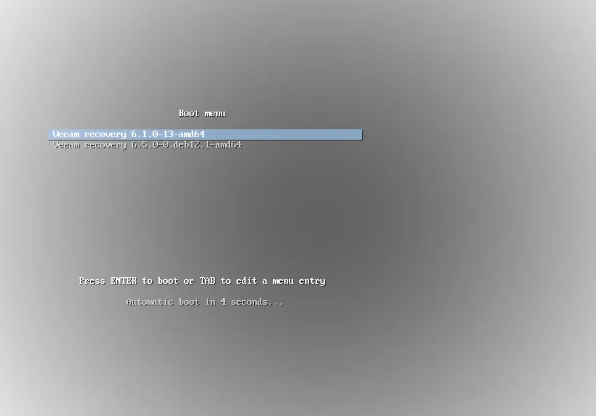
- Press Enter to boot into the Veeam Recovery menu.
Now that you have booted the Veeam ISO you can start the recovery process.
- The ISO will show a message to autostart the SSH server. Press enter to
- Procced without SSH.
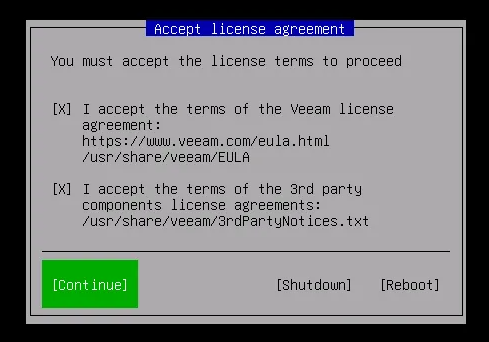
- Next you will have to accept the Veeam Licence Agreement.
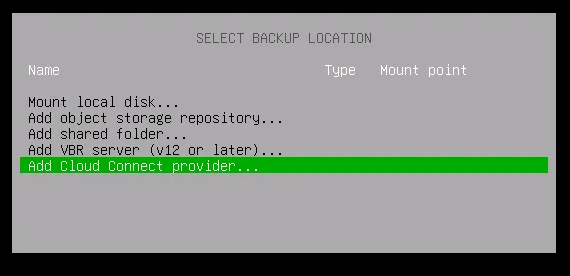
- You will be presented with the main menu of Veeam Recovery ISO. Select Restore Volumes.

- Then select Add Cloud Connect provider.
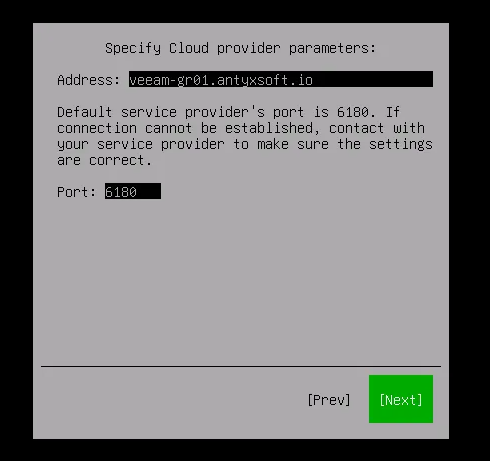
- Next depending on the location of your backups enter the URL address.
- veeam.antyxsoft.io
- veeam-gr01.antyxsoft.io
- veeam-usa01.antyxsoft.io
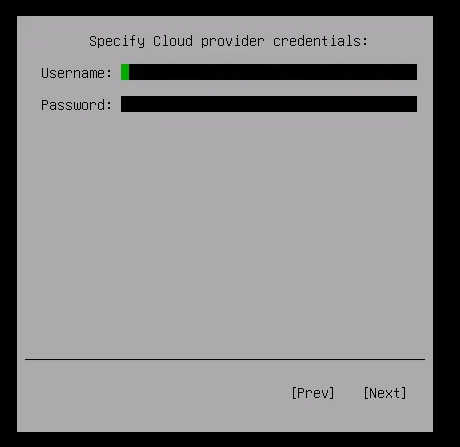
- Next enter your credentials. Your username should be in the format: Tenant\Tenant_ComputerName.
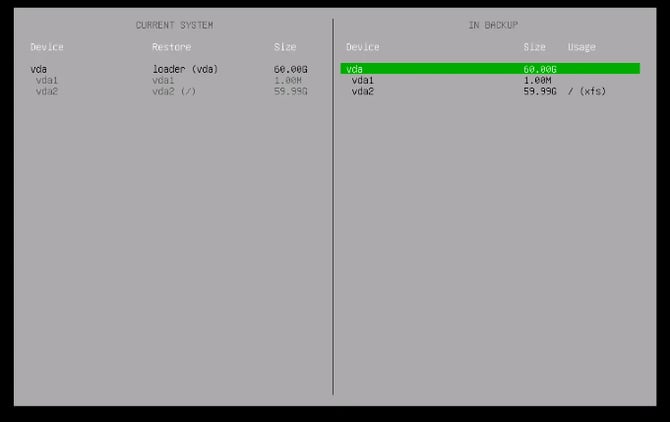
- After you enter you credentials and connect to your backup repository you will be presented with a similar menu to this:
- Select your backup and a restore point then proceed. (navigate using the TAB button)
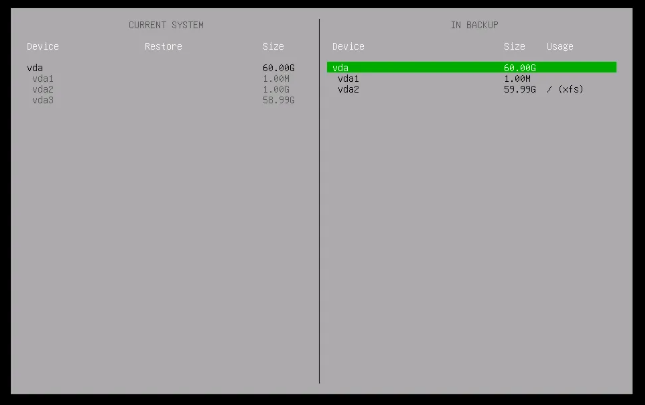
- Following up you will have to select which volumes you want to restore from. In this case we will show how to do a full restore.
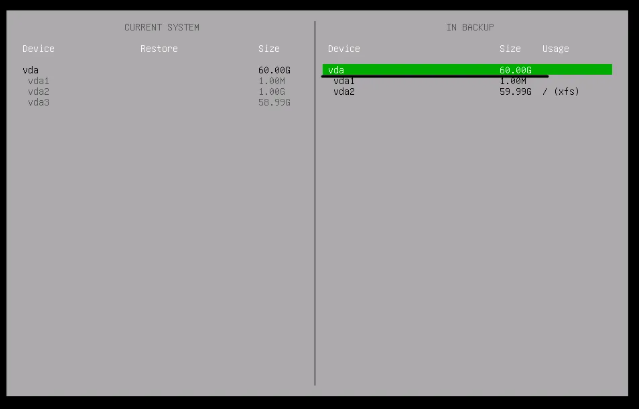
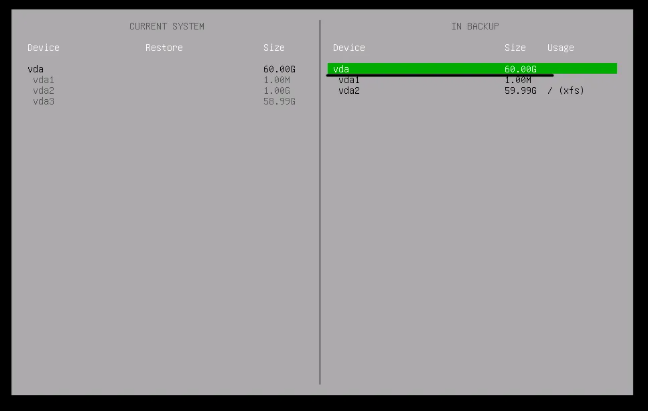
- Move to the right section (backed up data). And press enter to the whole volume.
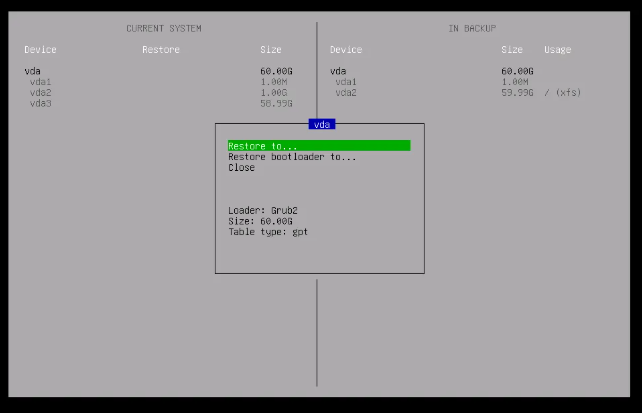
- Select Restore to....
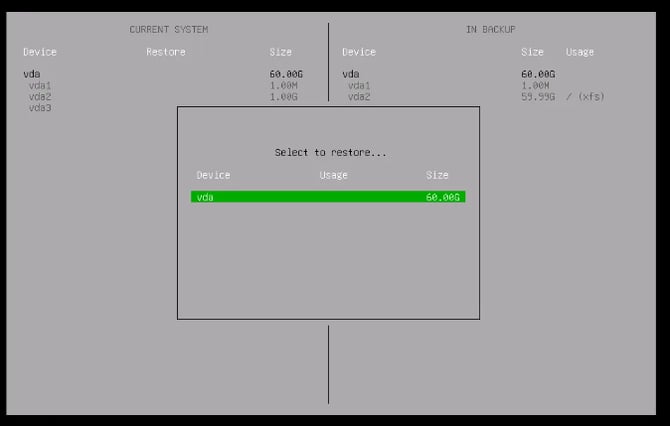
- Then select the proper restore point.
- This will re-format the drive if its required as shown bellow.
- Now you can view the summary of restore process by pressing S.
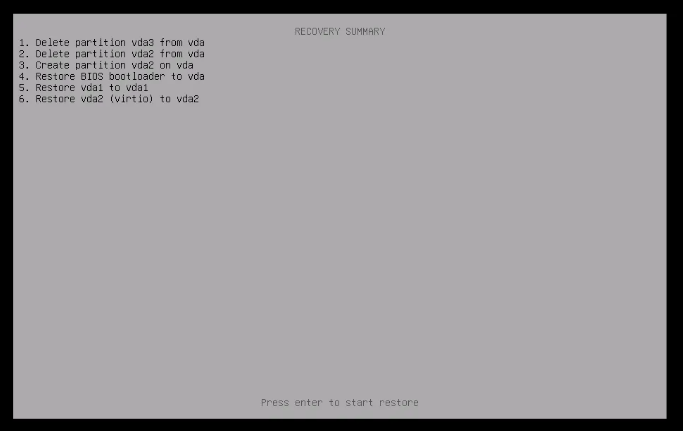
- Press Enter to start with the VM restoration.

- Once the recovery is complete you will see this screen.
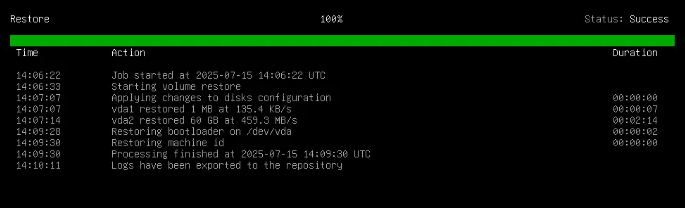
- Exit to the main menu.
- Now you will have to remove the attached ISO from the VM.
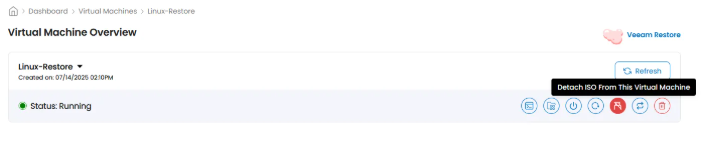
- Next Power off the instance.
- On the next startup of you will be shown the restored state of the VM